I must admit, I’ve never made soap from scratch. I tried one time and dropped lye on our wood floor. I figured out right then and there that soap making was no joke and lye should be handled with extreme caution. I still wanted to make bars of soap so I decided to take the easy road and use Melt and Pour Soap. I customized it by adding coffee grounds this time and it turned out so fun!! This soap is simple to make yet tricky to get right but never fear-I’ve worked out all the kinks and will steer you in the right direction so that you can make the perfect coffee soap!
What Is Melt and Pour Soap?
Melt and Pour soap is exactly what the name says. It’s basically already made soap that you can customize by adding dyes, essential oils, fragrance, herbs, clay etc. You use a mold which really lets you get creative from not only the actual soap but the shape!
Melt and Pour soap is what I have opted to use when making DIY bars of soap since it is so easy and you don’t want to go through the saponification process of making soap from scratch which can be a lengthy process as well as a dangerous project since you are working with lye.
Coffee Soap DIY:
Before we begin, I must tell you that there are 2 options to this DIY.
The first is a simple coffee soap that can be used for hands or even the body. It contains a small amount of coffee grounds and is scented with coffee essential oil.
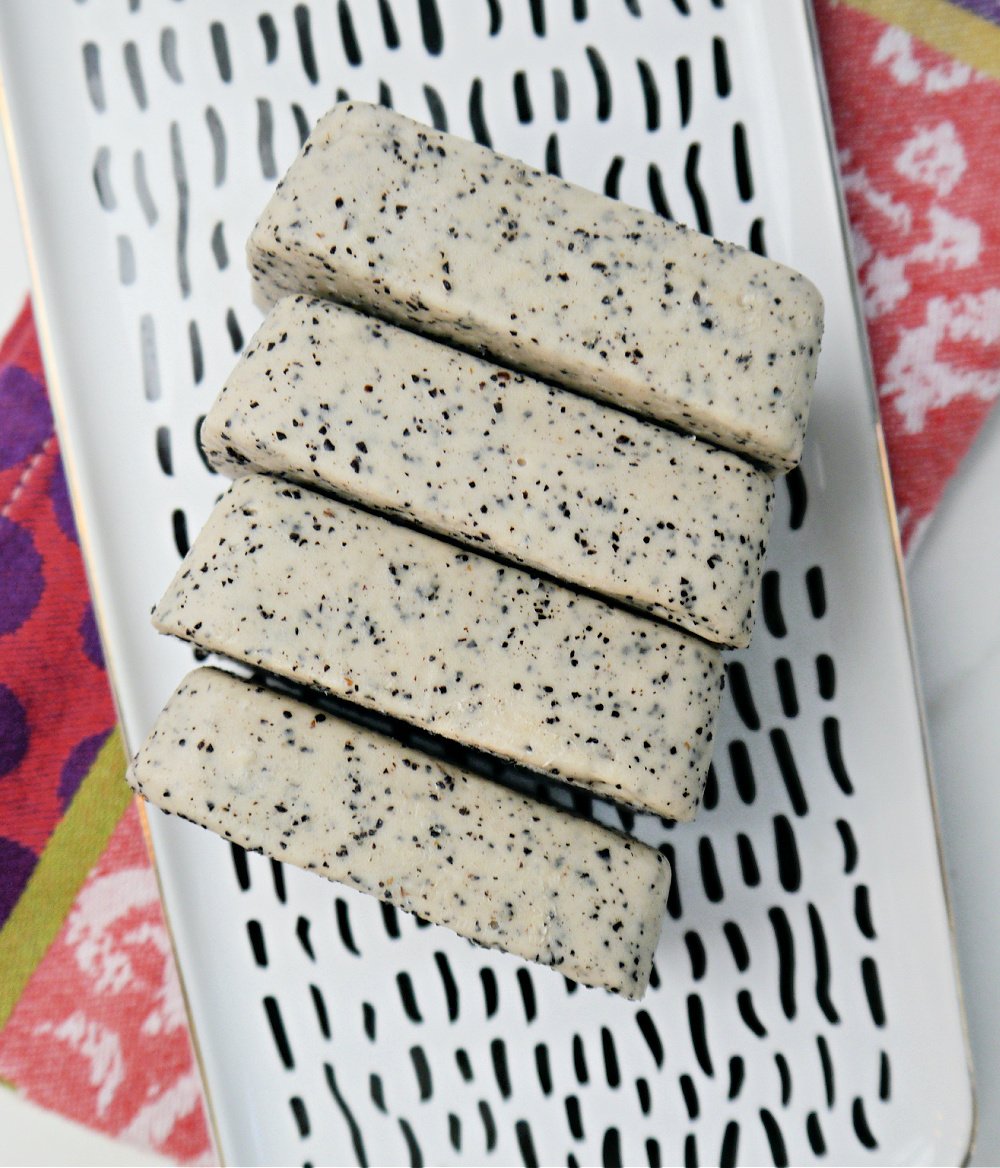
The second option was a happy accident. The second option is a Coffee Soap Scrub! My second round of soaps I wanted to add extra coffee grounds hoping to get a stronger scent. This batch turned out to be very textured which made me realize it would be perfect for an easy, soapy scrub!
Benefits of Using Coffee in Skincare:
Believe it or not, coffee holds many benefits for the skin! I like adding it to skincare any chance I get! One of my favorite ways of using coffee in skincare is by infusing it into an oil like rosehip seed! Caffeine has an incredible way of reducing puffiness, brightening dull skin and increasing blood flow! A coffee scrub is another great way to enjoy caffeinated benefits.
While we’re getting excited about the skin benefits of caffeine, you might want to check out my Coffee Bean Roll On for Eyes recipe and a Coffee Chocolate Antioxidant Mask recipe!
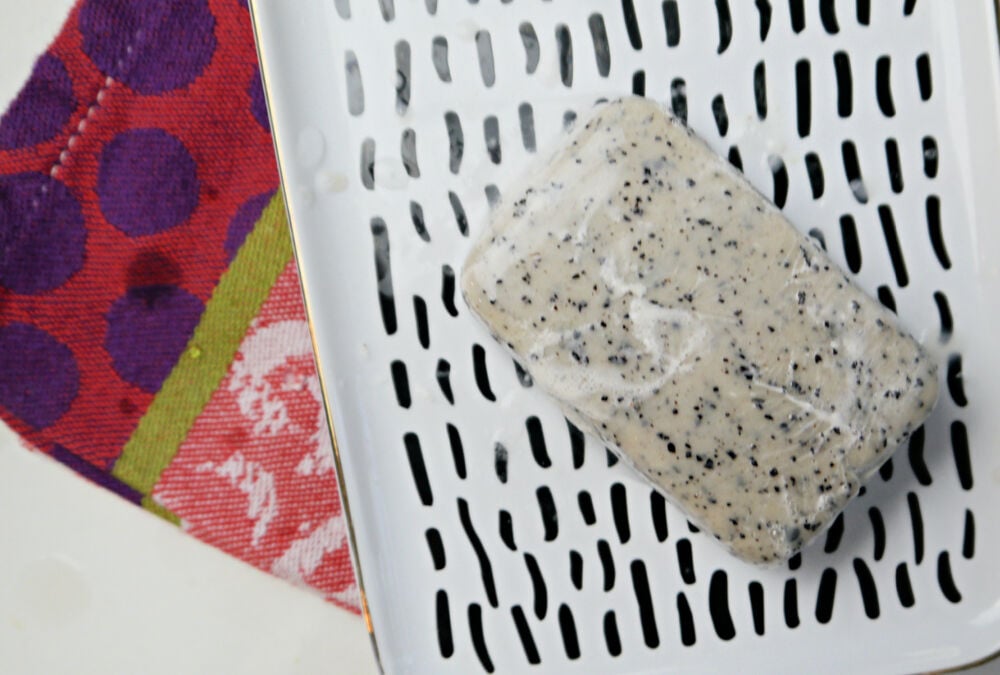
Above is the first batch. As you can see, 1 tsp. of coffee grounds pretty much sunk to the bottom of the soap leaving the tops of the soaps looking like they had no coffee grounds in them. This happened because I poured the soap into the molds at too high of a temperature. I will say that having the coffee grounds only on the bottom could be a unique way to have a scrub on the bottom and soap on the top. It was definitely not a bust of a batch. It just wasn’t the look I was going for.
What You’ll Need to Make Coffee Soap:
Materials
- 1 lbs. Melt and Pour Goat’s Milk Soap
- 2 tsp. Used Coffee Grounds (for more of a scrub soap use a heaping tablespoon)
- 30 drops Coffee Essential Oil
- 30 drop Vanilla Essential oil or 2 TBSP. of vanilla extract
Tools
- Soap Molds
- Cooking Spray
- 4 cup Pyrex Measuring Cup or medium sized glass bowl.
- Medium sized pot
- Spoon to stir
- Food thermometer
Instructions
- Gather used coffee grounds and dry thoroughly. I laid mine on a paper towel and allowed them to dry out for 24 hours. This isn’t always necessary if you feel your grounds are dry earlier.
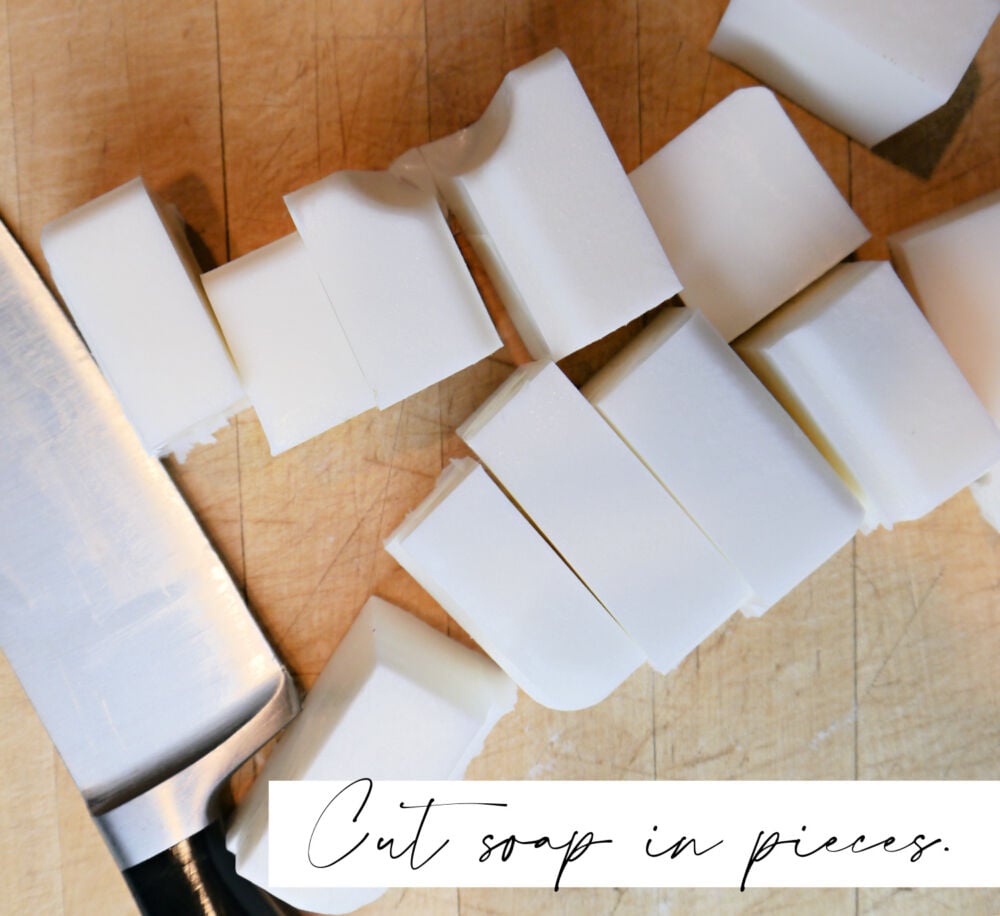
- Cut the melt and pour soap in small sized pieces.
- Make a double boiler by filling a medium sized pot half way full of water.
- Put a large (4 cup) Pyrex measuring cup in the water.
- Add the soap to the measuring cup.
- Thoroughly melt the soap.
- Remove from heat and monitor the temperature of the soap.
- While the soap cools, spray your molds with cooking spray.
- Stir in coffee grounds.
- Add essential oils or extract.
- In order to avoid the coffee grounds from sinking to the bottom of the soap, wait until the soap reaches 115-120 degrees.
- Pour soap into prepared molds.
- Allow the soap to cool for around 2 hours before using.
Notes
- You should be able to make around 12 bars with a 2 lb package of Melt and Pour. It’s hard to say because it depends on the mold you choose.
- How much soap you’d like to make, determines the amount of coffee grounds and essential oils/extracts you use. I did not want to make the entire 2 pound package of soap so I only made about 1 lb and that is what I’m basing my proportions on.
Tips & Tricks:
- I found this DIY to be tricky. It took some trouble shooting to figure out the right temp. the soap mixture needed to be so that the coffee grounds didn’t sink to the bottom. However, the coffee grounds that sink to the bottom aren’t so bad and can act as an exfoliant.
- My first batch I added only 1 teaspoon of coffee grounds. My 2nd batch I added over 1 tablespoon. 2 tsp. is about perfect. 1 tsp. was not enough and an overflowing tablespoon turned my soap into more of an exfoliator. It really depends on what you are aiming for.
- While the soap is cooling, you can spritz rubbing alcohol on the soap to get rid of bubbles.
- Used coffee grounds are best because fresh coffee grounds tend to bleed into the soap. I’ve not tried it for myself though so I’m not sure if bleeding coffee grounds is a bad thing.
- I used Vanilla Oleresin essential oil in the hopes of getting a strong vanilla scent. No matter how much I added, I never got a strong scent. Other recipes called for 3 tablespoons of vanilla extract per 1lb of melt and pour soap base. Vanilla extract is expensive and I use it daily in my coffee so I didn’t try it but know it is an option.
- Soap molds are an individual preference. I really like silicone molds since you can easily pop the soap out. I’m not even sure if cooking spray is necessary when using silicone molds. I do like a more natural look and will eventually get something like THIS where you cut the soap. You could even use ice cube trays in you don’t want to buy actual soap molds!
- While I used Goat’s Milk Melt and Pour Soap, Shea Butter Melt and Pour Soap would work just as well.
Giving the Gift of Soap!
It’s the season of gift giving and I refuse to run around spending tons of money on teachers and friends-I realize that makes me sound like a scrooge-again, but I just don’t like that the holidays always end up to mean going into debt to keep up! So, this year I’ve started early and am making gifts and gift tags so I can still give to people that I care about but not break the bank-Plus, making gifts from hand are extra special any way!
I think making soap and giving it to friends and family is one of the most economical yet special handmade gifts. There are endless possibilities when it comes to melt and pour recipes. Plus, using a Melt and Pour base is fool and full proof. Unless you do something crazy, this soap will work once it gets into the hands of the recipient!
In fact, I even remelted already made soap in order to experiment more with the coffee grounds! The 2nd batch turned out just fine!
As you can see from the pictures below, it’s so easy to wrap a bar of soap in a special and beautiful way! I found berries on my walk and cut cedar from my yard. I happened to have craft paper and leftover ribbon to finish off the gift. I also made a gift tag so it would be clear what was in the wrapping. You can download my PDF to your computer, grab some card stock paper and print! Just cut out the tags and tuck under the ribbon!
Get the PDF tags HERE. Some tags say “Coffee Soap Scrub” and the other half say “Coffee Vanilla Soap”.
Adding a fun soap dish could be a nice touch as well!
This post has inspired me to work more with Melt & Pour soap. The ideas are endless! I’ve seen people add lemon and orange rinds, dried herbs and even a loufa! I’m excited to start experimenting with color. Clays, spirulina and spices naturally tint soap while adding skin benefits! I have done an activated charcoal soap that is one of my favorites!
Whether you are making this recipe for yourself or intending it for gifts, this recipe is easy to make and with my tips. I’ve ironed out the kinks I ran into making melt and pour coffee soap for the first time so you can breeze right through this fun and affordable DIY!
xx, Jenni

